Using Unetbootin to create bootable USB drive from iso

I had used Unetbootin to create a USB installer from a Ubuntu ISO image. All went OK in creating and installing the USB image following UNetbootin instructions, so I thought.

The Problem
UNetbootin created menu entries in the bootloader containing invalid arguments.
When booting, it would load the kernel, then kick me to a shell stating
init not found pass init= to kernel
Googling reveals many other users having the same issue.

The Solution
Bootable Linux CDs usually always contain a configuration file for the bootloader. I mounted the ISO image loopback (# mount -o loop image.iso /mnt/mountpoint) and found Ubuntu 10.x is using Grub, which is pretty standard across all Linux distros. Looking at this config file in /boot/grub/loopback.cfg in my instance, I was able to see how Ubuntu was expected to boot.

Here’s what the default menu entry in Ubuntu Netbook image looks like:
menuentry "Try Ubuntu Netbook without installing" {
linux /casper/vmlinuz file=/cdrom/preseed/ubuntu-netbook.seed boot=casper iso-scan/filename=${iso_path} quiet splash --
initrd /casper/initrd.lz
}

Passing kernel=/casper/vmlinuz initrd=/casper/initrd.lz boot=casper to UNetbootin’s bootloader and it booted right up.

Repairing HP Ipaq hx2755 SDcard slot

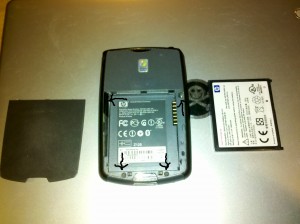
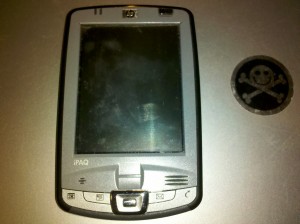
I got the hx2755 a long time ago, back when it was top of the line and it served me well. One day the SDCard slot just stopped working but by that time i had a smart phone and didn’t use it much anymore, my kids used it more then i did. So for a long time it sat taking up space, i had intended to open it up for some time and try to fix it but never had a tool that would allow me to do so. Well i finally got off my ass and made my way to the local hardware store to find the tool i needed, the fucker was $5! So lets get to business! heres a little pick of the device before i opened it up:

So to start i turned it over, removed the battery and unscrewed the four screws i made arrows to in the pic below. One is hidden behind the stylist.

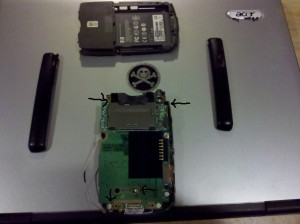
After i got the back off i had two more screws to remove “arrows pointing” and two wires to disconnect “arrows pointing”.

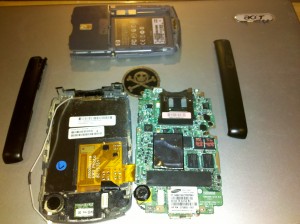
Now i could really open this sucker and take a look at the SDcard slot. Heres what i had to work with:

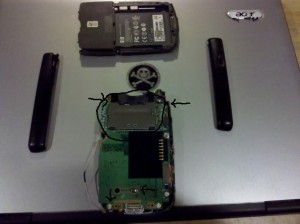
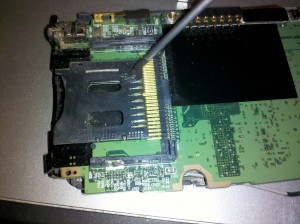
Now for me to see the pins i had to turn the main board back over and remove the tin shield over the expansion slot. Heres a pick of what im talking about “i put a circle around the shield”:

“Yes i did re-edit a image i already used, needless to say i fucked up lol”

Once i had it removed i was able to see a bent pin for the SDcard slot and used one of my tools to bend it back into place

Then i put it all back together. I was a little amazed it turned on let alone that it actually worked! So now that i have this little guy working like new “almost” again my next move is to put linux or something one it. Wish me luck 😀 Well thats how i repaired my hx2755s SDcard slot. Thats it for now, peace.

BackupPC 3.2.0 XSS

I dont normally make posts about XSS exploits unless there is some special circumstances. I picked this one because BackupPC is a popular network backup tool that you might find in networks all over the place and because there is no built in security you normally only find it on “secure” trusted networks.

So anyway the issue is in Browse.pm. It gets a num variable passed to it via get request, then displays the unsanitary input back to the user. So heres PoCs of both the vectors i found.

PoC 1: http://target.server/cgi-bin/BackupPC_Admin?action=browse&host=realhostneeded&num=1[XSS] – comes back as a valid request and runs XSS

PoC 2: http://target.server/cgi-bin/BackupPC_Admin?action=browse&host=realhostneeded&num=[XSS] – comes back as ERROR and runs XSS

Like most XSS holes its a easy fix, just edit line 55 in /usr/local/BackupPC/lib/BackupPC/CGI/Browse.pm to read like so:
my $num = ${EscHTML($In{num})};

or download this Browse.pm file and replace it with the one in /usr/local/BackupPC/lib/BackupPC/CGI/ on the installed server.

Ok thats it, peace.